The following article will showcase the site builder's Language Tool and the ways of using it.
The Language tool allows the webmaster to maintain a multilanguage website. For the avoidance of any doubt, each new language must be built separately, since the system is not able to translate the contents of a website into another language. It rather creates a separate branch of your website which shares the same hosting plan and adds to your website's page count.
Adding a language
To add a new language to your website, click on
Manage >>
More options >>
Languages.
Then click on the
Add/Edit Language button and select the language of your choice.

That done, you can navigate between the two languages in two possible ways:
1.
Manage >>
More options >>
Languages. Click on
Build Site next to the relevant language.

2. A new button has been added to your admin panel's top toolbar. You can navigate between your site's languages by clicking on the button and selecting the desired language.

Adding Language Navigation Bar
The
Language Bar allows your visitors to navigate easily between the website's languages by clicking on the relevant flag icon.
To add the bar, go to the draggable elements menu, switch to
Apps in the top drop-down box, grab the
Language Bar element and drag it to the desired location. The flags representing your site's languages will appear on the bar. Clicking on the Language Bar in the editor will take you to the language manager, where you can edit the current languages or add new ones.
If you wish to obtain direct links to your languages, you can find those in
Manage >>
More options >>
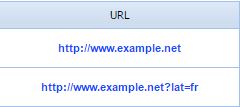
Languages - the link to each language will appear next to it, in the URL column.

Forwarding Domain to a Language
You can forward separate domains to each language in your website. If you have another domain assigned for an additional language, connect it to your website first (provided you haven't yet done that):
Domain >>
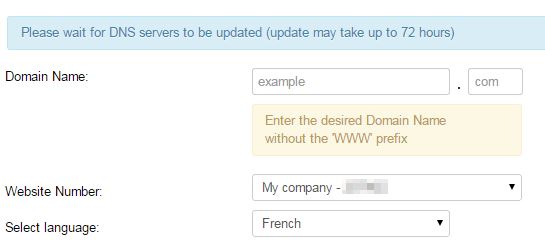
Add new domain name. Next, fill out
Domain Name and
Website Number fields. As soon as you select the relevant site number, the
Select language selection box will appear, wherein you can choose the language you would like to associate with your new domain.

Click on
Apply to save the changes.